Components Usage
To use Angular Material components in your Angular application, follow these general steps:
Import the Required Angular Material Modules: In your Angular module file (e.g.,
app.module.ts
), import the Angular Material modules that correspond to the components you want to use. For example, if you want to use buttons and card, you would import theMatButtonModule
andMatCardModule
modules.
import { MatCardModule } from '@angular/material/card';
import { MatButtonModule } from '@angular/material/button';
// Import other required modules as needed
Add the Imported Modules to the
imports
Array: Inside the@NgModule
decorator in your module file, add the imported Angular Material modules to theimports
array.
@NgModule({
declarations: [
// Your components
],
imports: [
MatCardModule,
MatButtonModule,
// Add other imported modules here
],
providers: [],
})
export class AppModule {}
Use Angular Material Components in Your Templates: In your component templates (HTML files), you can now use Angular Material components by adding the appropriate HTML elements and attributes. For example, to use a button, you can write:
<section>
<div class="example-label">Basic</div>
<div class="example-button-row">
<button mat-button>Basic</button>
<button mat-button color="primary">Primary</button>
<button mat-button color="accent">Accent</button>
<button mat-button color="warn">Warn</button>
<button mat-button disabled>Disabled</button>
<a mat-button href="https://www.google.com/" target="_blank">Link</a>
</div>
</section>
<mat-divider></mat-divider>
<section>
<div class="example-label">Raised</div>
<div class="example-button-row">
<button mat-raised-button>Basic</button>
<button mat-raised-button color="primary">Primary</button>
<button mat-raised-button color="accent">Accent</button>
<button mat-raised-button color="warn">Warn</button>
<button mat-raised-button disabled>Disabled</button>
<a mat-raised-button href="https://www.google.com/" target="_blank">Link</a>
</div>
</section>
<mat-divider></mat-divider>
<section>
<div class="example-label">Stroked</div>
<div class="example-button-row">
<button mat-stroked-button>Basic</button>
<button mat-stroked-button color="primary">Primary</button>
<button mat-stroked-button color="accent">Accent</button>
<button mat-stroked-button color="warn">Warn</button>
<button mat-stroked-button disabled>Disabled</button>
<a mat-stroked-button href="https://www.google.com/" target="_blank">Link</a>
</div>
</section>
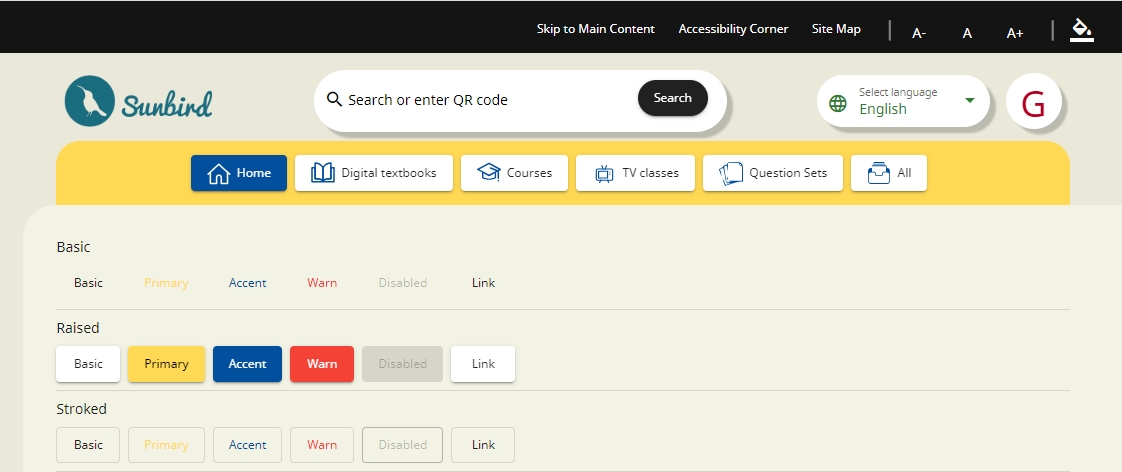
The expected output is as follows:

For more information about buttons, please visit the following link:
https://v14.material.angular.io/components/button/overview
And to use a card:
//Basic card
<mat-card>
<mat-card-content>
This is a Material Card.
</mat-card-content>
</mat-card>
//Card with multiple sections
<mat-card class="example-card">
<mat-card-header>
<div mat-card-avatar class="example-header-image"></div>
<mat-card-title>Shiba Inu</mat-card-title>
<mat-card-subtitle>Dog Breed</mat-card-subtitle>
</mat-card-header>
<img mat-card-image
src="https://material.angular.io/assets/img/examples/shiba2.jpg"
alt="Photo of a Shiba Inu">
<mat-card-content>
<p>
The Shiba Inu is the smallest of the six original and distinct spitz breeds
of dog from Japan. A small, agile dog that copes very well with mountainous
terrain, the Shiba Inu was originally bred for hunting.
</p>
</mat-card-content>
<mat-card-actions>
<button mat-button>LIKE</button>
<button mat-button>SHARE</button>
</mat-card-actions>
</mat-card>
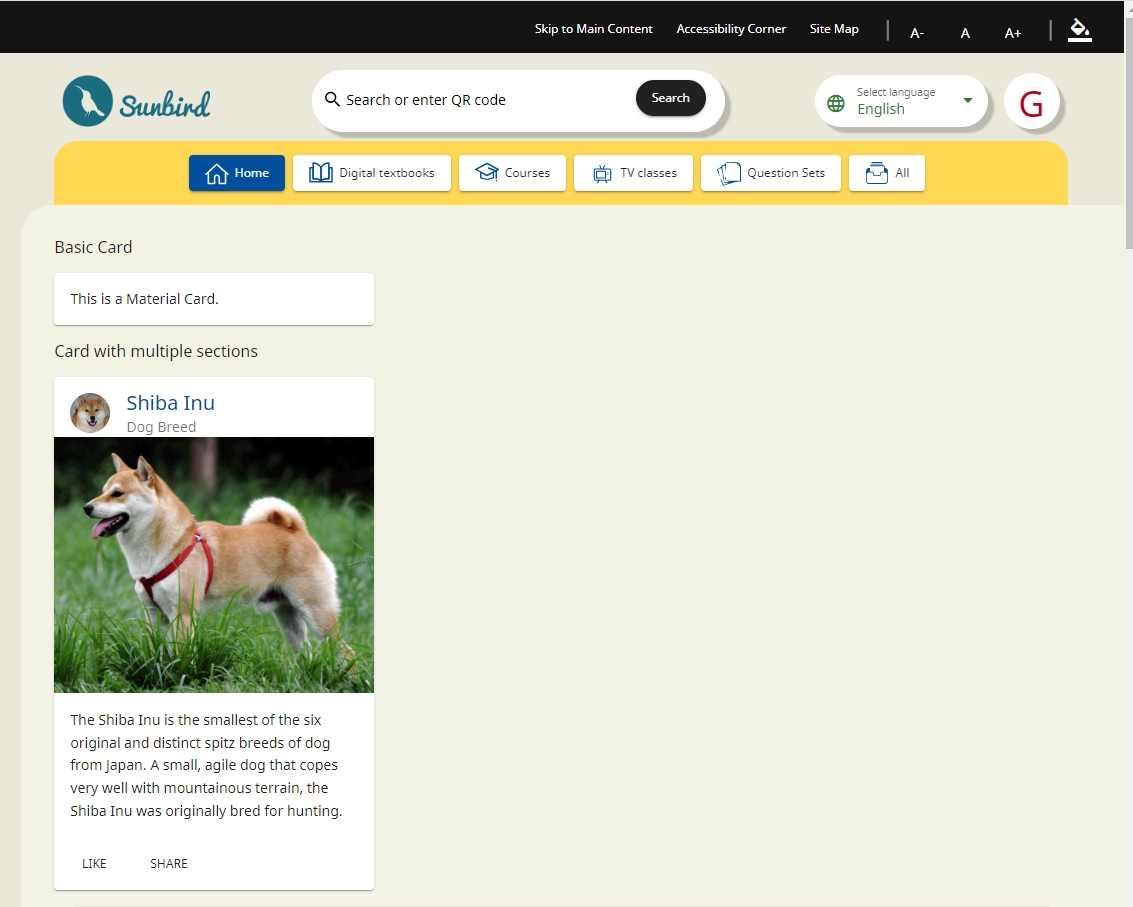
The expected output is as follows:

For more information about cards, please visit the following link:
https://v14.material.angular.io/components/card/overview
Customize and Style
To personalize and style Angular Material components within your Angular application, you have various techniques at your disposal. These include CSS, Angular Material theming, and component-specific customization options, which will be elaborated on in the upcoming sections.
Additional Configuration
Adding Angular Material components to your application is a straightforward process, as you can easily include them in your templates. Be aware that for specific components, you may need to import additional modules and styles. For a comprehensive guide on using each component and understanding their dependencies, kindly refer to the following link.
Last updated